Adobe Experience Manager is the powerful Content management System backed by various technology like JCR, Apache Sling, OSGI etc. AEM tutorial provide you more details about AEM.
Closed User Groups (CUGs) is a feature that is used to restrict the access to content to a select group of users on a published instance,
need to log in to access the resource/content.
Some time we need to restrict the page from user or group of users, so limited users can access the page/resources.
So before accessing the page we need to authenticate the user, (just like we authenticate the user using username or password), on publish instance.
we can restrict specific page or parent and child pages well.
By using close user group (CUG) we can achieve this. when we want to access the page by implementing the Closed User Group (CUG).
we need to login/authentication first then we can access that page.
So let’s create Closed User Groups with the following steps.
1. Login to your AEM Instance.
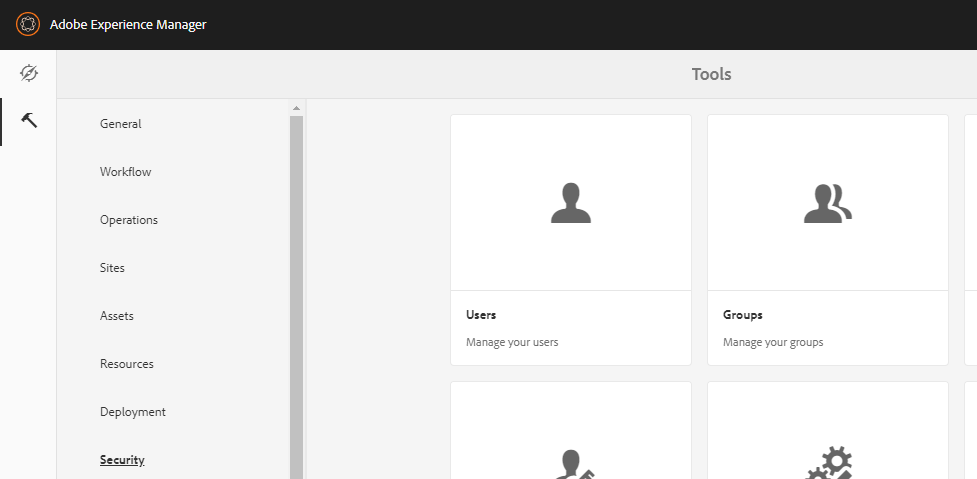
2. Click on wrench Sign.

3. Go to Security tab and create a User and activate the user, and then Save the User(name should be relevant).
4. Similarly create a group, add user to the group and activate the group and then Save the Group(name should be relevant).
Now configure the Close User Group
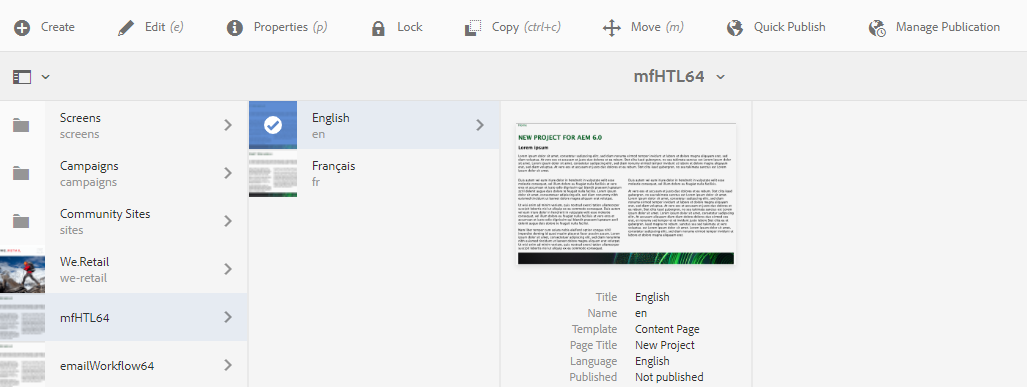
1. Create a page or use already existing page. Go to the selected page properties.
2. Click on advance property.
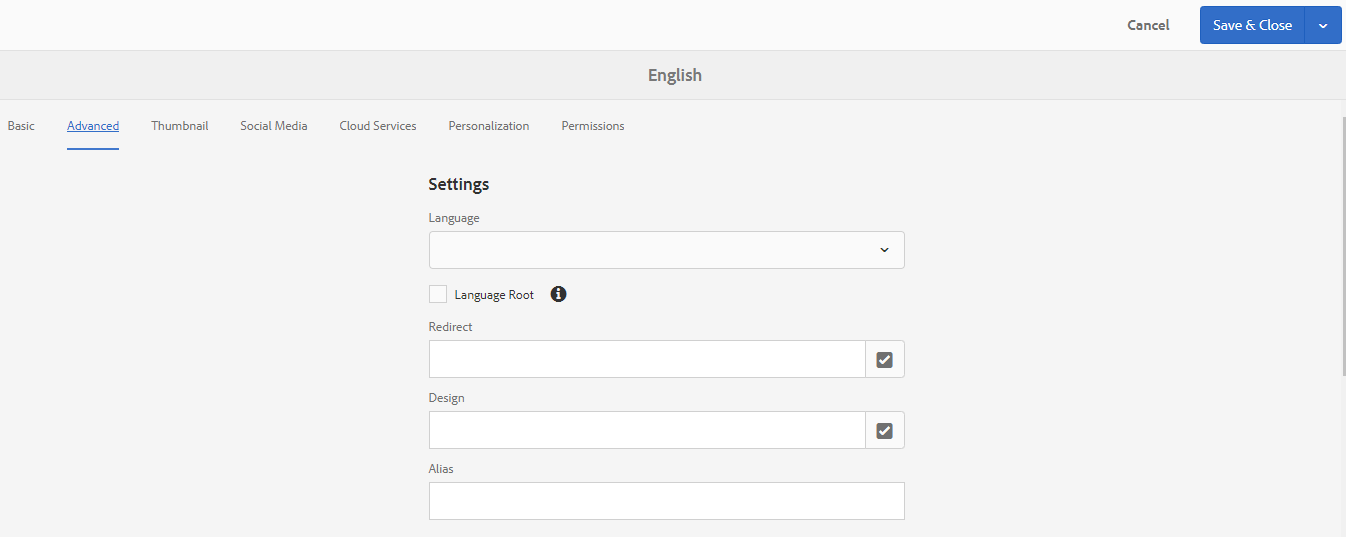
3. Scroll down a little and enable Authentication requirement.
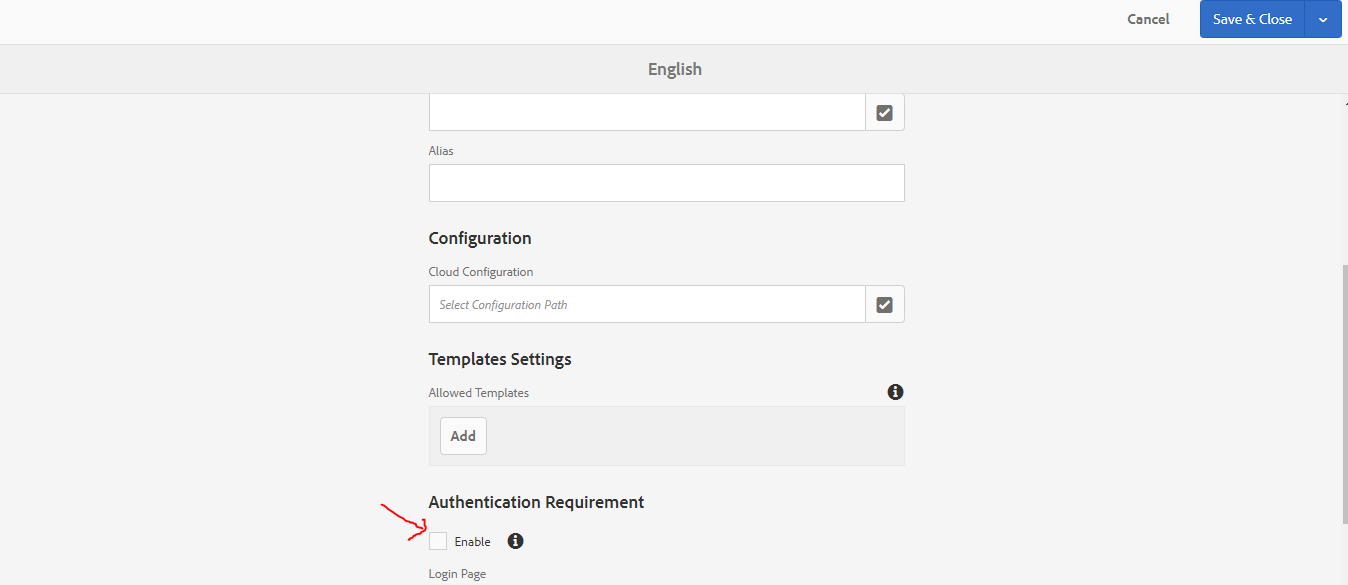
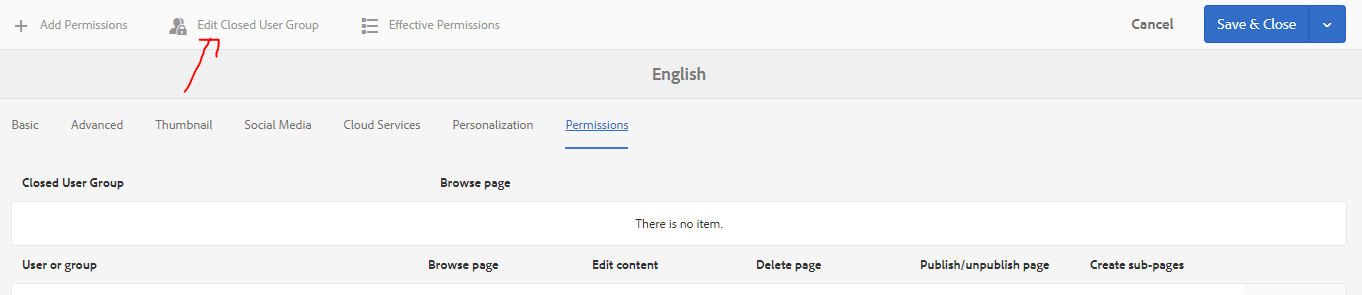
4. Then click on permission tab (Right top).Click on edit closed user group Enter your closed user group name and select that you can add more permission to the CUGs as desire.
Test Closed User Group(CUGs) on publish instance
Closed User Group(CUG) works only on publish instance. Steps are:
- First Make sure your replication agents are properly configured click here
- Activate/Publish All pages including child-pages.go to crxde to check them.
- Go to Group Admin and activate your group.